A blended course gives you two places to teach: the room and the online space. The risk is that each becomes a place to deliver content, with the room used for a lecture and the online space used for a pile of files. Active learning offers a better use of both. This post explains what it means in a blended course and gives you techniques you can use this term.
Learning outcomes
By the end of this post you’ll be able to
- Explain what active learning means in a blended course.
- Select techniques for preparation, in-class and online use.
- Design one blended session that connects the online and face-to-face parts.
What active learning means in a blended course
Active learning means students do something with an idea, rather than only receiving it. They answer, discuss, apply, compare or explain, and they get feedback while it still matters. Listening and note-taking have their place, but they are not enough to show you what students understand.
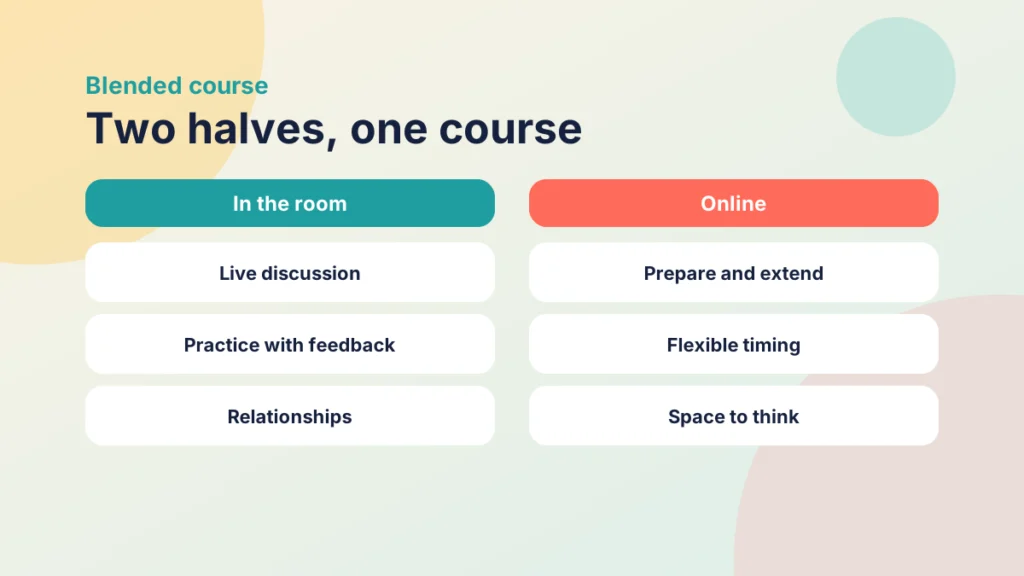
In a blended course, the two parts of the course can do different jobs. The online space suits preparation and extension, because students can work at their own pace and return to material. The room suits live discussion, practice with immediate feedback and the relationships that help students take part. Active learning works best when you assign each part the work it does well.
It also fits the structures you may already use. The Introduction to the PANDA Framework gives each week an Activate element, where you bring what students already know to the surface. Gagné’s nine events asks you to give students something meaningful to do and to provide feedback. Both are active learning in practice.
Before the session: preparation that does real work
Preparation is where many blended courses succeed or fail. If students arrive without having looked at the material, the session turns back into a lecture. If the preparation is too long or too vague, they skip it.
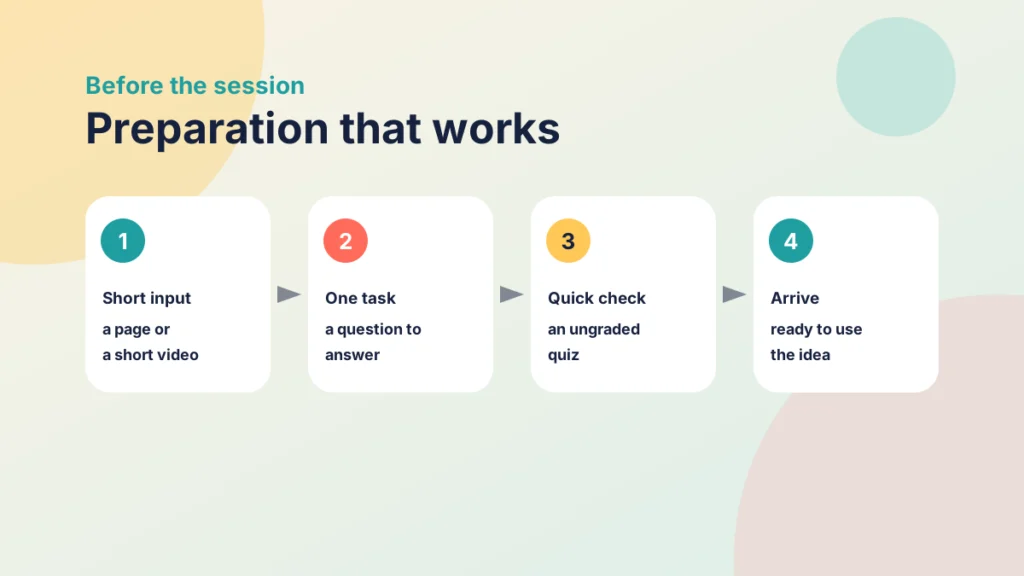
Keep it small and purposeful. A short video or a well-organised page, followed by one question to answer, is often enough. The question matters more than the content, because it turns reading into an action and gives you something to work with in the room.
- Short input: a page or a short video that covers one idea.
- One task: a question to answer, a prediction or a short problem.
- A quick check: an ungraded quiz that gives instant feedback, so students know whether they are ready.
Retrieving an idea from memory helps students to remember it, so a low-stakes question at the start of the preparation or the session is a good habit. Look at the answers before the session. They show you what to spend the time on, and what you can skip.
Put it into practice
Your turn
Take one session you teach. Decide what students must do before they arrive, and write the single question they will answer. Keep the preparation to what students can complete in about twenty minutes.
In the room: techniques that get students thinking
When students arrive prepared, you can use the time for the things that need people in a room. Choose techniques that are quick to set up and easy to repeat, so that they become routine and not novelties.
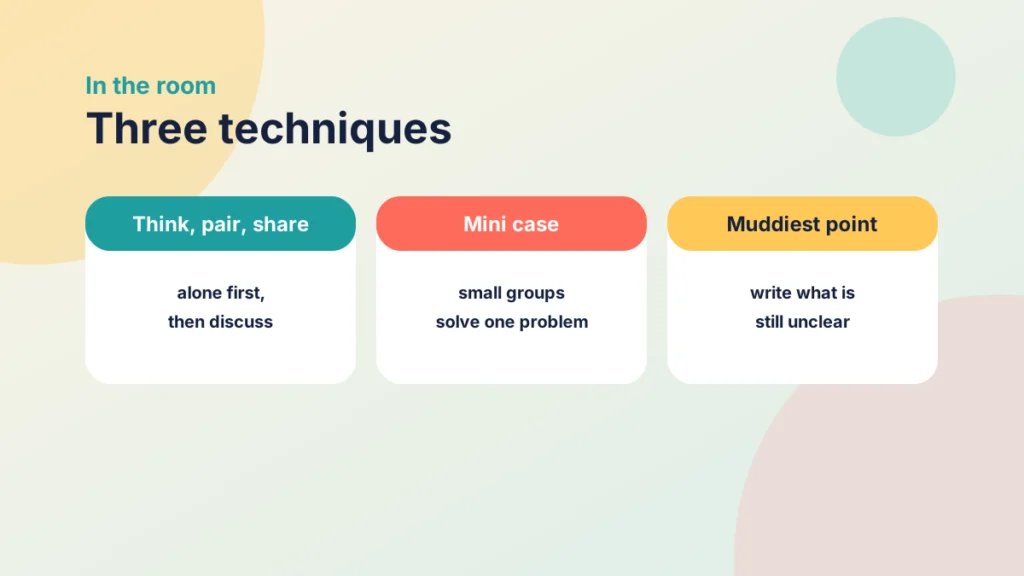
Think, pair, share
Ask a question, then give students a minute to think alone. They discuss their answer with a neighbour, and then a few pairs share with the whole room. Everyone has thought before anyone speaks, so the discussion is better than one started by the most confident voice.
A short case or problem in small groups
Give groups a short case that applies the idea from the preparation, and ask them to produce an answer they can defend. Walk round, listen and ask questions rather than giving answers. This is where you see what students actually understand.
The muddiest point
Near the end, ask students to write down the idea that is least clear to them. Read a few aloud, or review them afterwards. It costs a minute and tells you what to address in the next session.
Case study
Turning a lecture into a working session
Illustrative example
The context
A lecturer teaches a large first-year module at a UK university, with a weekly session in the room and a Canvas module online.
The challenge
Sessions were mostly lectures, and students said little. Many arrived without having looked at the online material.
What they did
The lecturer shortened the online input to one page and one ungraded quiz, then used the session for think, pair, share and a small-group case. The session ended with a muddiest point question.
What happened
Students had a reason to prepare, because the quiz fed straight into the session. Discussions were livelier, and the muddiest points told the lecturer what to revisit.
What would you do?
- Which part of your own sessions could become a small-group task?
- What would you use to find out what is still unclear?
Online: keeping the conversation going between sessions
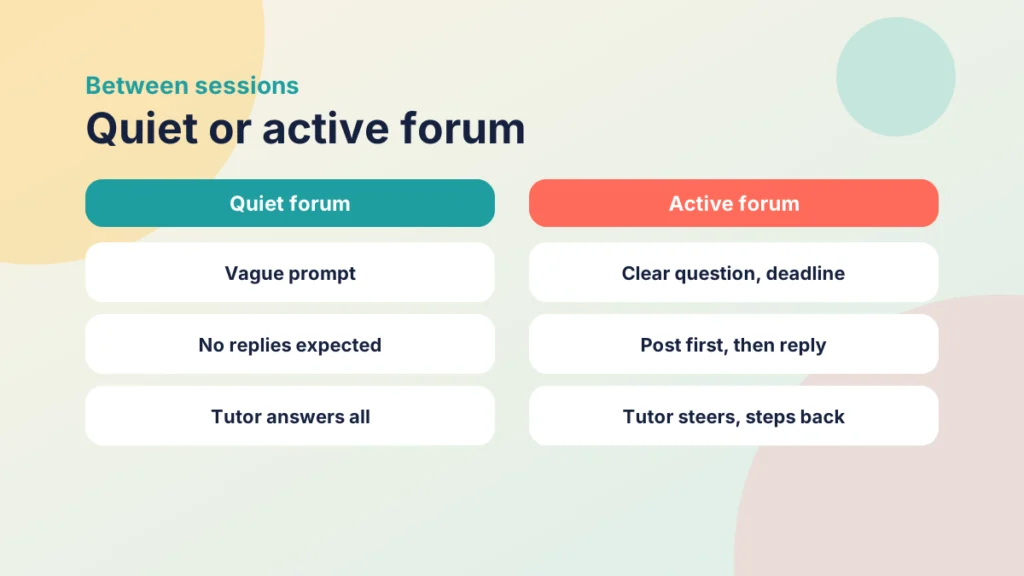
Between sessions, the online space can keep the thinking going. A discussion can extend what happened in the room, or prepare for the next session. Left to itself, it often goes quiet.
The reason is usually that students are not yet ready for open debate. Gilly Salmon’s five stage model explains that groups need to get in, meet each other and share before they start to question each other. In a blended course the room does much of that early work, which is an advantage.
A few habits make a big difference:
- Ask a clear question with a deadline, and say how many replies you expect.
- Ask students to post their own answer first, so that they draw on their own thinking before they see others.
- Steer rather than answer every post. If you leave gaps, students begin to reply to each other.
- Refer back to the discussion in the next session, so students see that it matters.
Peer review is another good online activity. Students give feedback on each other’s work against a rubric, which turns a submission into a conversation. SAMR would call this a redesign of the task, and not just a change of tool.
Put it into practice
Your turn
Rewrite one online discussion prompt so that it has a clear question, a deadline, an expected number of replies and a reason to post first.
Bringing the two halves together
The best blended courses work as a loop. Students prepare online, practise in the room, extend online and then reflect. Each part feeds the next, and you use what you learn from one to plan the other.
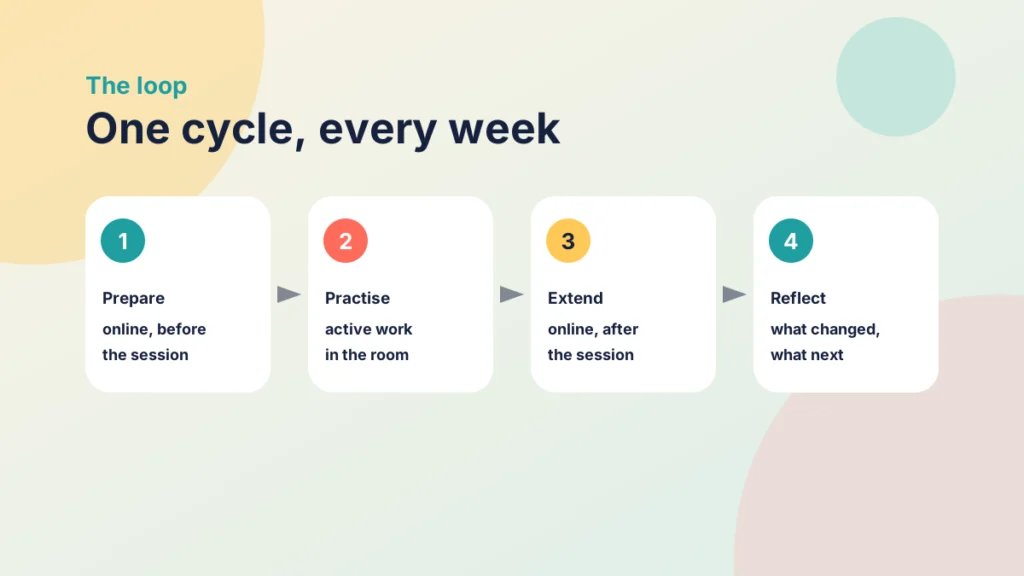
A simple weekly pattern might look like this. Before the session, students complete a short input and a quiz. In the room, they discuss and apply the idea in groups. Afterwards, they post a short reflection or a response to a peer. You read the quiz results before the session and the muddiest points after it.
Check the level of thinking too. If every activity asks students to recall, they are active but not stretched. Bloom’s taxonomy helps you choose tasks that move from remembering to applying, analysing and evaluating.
Be ready to adjust as you go. If students skip the preparation, shorten it or make the first question easier. If the discussion is thin, look at the prompt before you blame the group. Small changes of this kind usually do more than adding another tool.
Finally, keep it proportionate. You do not need every technique in every week. Choose one or two, use them consistently and add more when they feel routine.
Try it yourself
Pick a technique for your goal
Choose what you want students to do, and see a technique, where it fits in a blended course and a Canvas idea.
Check your understanding
Knowledge check
Why is a single question often more useful than extra content in online preparation?
It turns reading into an action, and gives you something to work with in the session.
Describe the steps of think, pair, share.
Students think alone, discuss with a neighbour and then share with the room, so everyone has thought before anyone speaks.
How would you stop an online discussion going quiet?
Ask a clear question with a deadline, ask students to post first and steer rather than answer every post.
Which part of a blended course suits live discussion, and which suits flexible preparation?
The room suits live discussion and immediate feedback, while the online space suits preparation and extension at the student’s own pace.
Remember
Key takeaways
- Active learning means students do something with an idea and get feedback while it matters.
- Give each part of a blended course the work it does best.
- Keep online preparation short, with one question that feeds into the session.
- Use quick techniques such as think, pair, share and the muddiest point.
- Clear prompts, posting first and light steering keep online discussion active.
Your next step
This week, choose one session and add one active technique to it, with one online preparation question beforehand. Afterwards, look at what the answers and the muddiest points tell you about what to do next time.
Reflect: which part of your own course is still mostly delivery, and which technique could replace it?