The first activity in a course tells students what kind of course it will be. If it asks them to read a long policy page, they will expect a long read. If it invites them to say something small and real, they are more likely to join in later. A good icebreaker is not a game for its own sake. It is a short, low-stakes task that helps people start talking and starts your teaching.
Learning outcomes
By the end of this post you’ll be able to
- Explain how an icebreaker supports early participation in a course.
- Choose an icebreaker that fits a stated goal and group.
- Design a short icebreaker, with a clear purpose, in a Canvas discussion.
Why icebreakers are worth the time
Students arrive with questions they rarely say aloud. Will I be able to do this? Who else is here? What happens if I get it wrong? An icebreaker answers some of these quietly, because it shows that taking part is safe and that other people are in the same position.
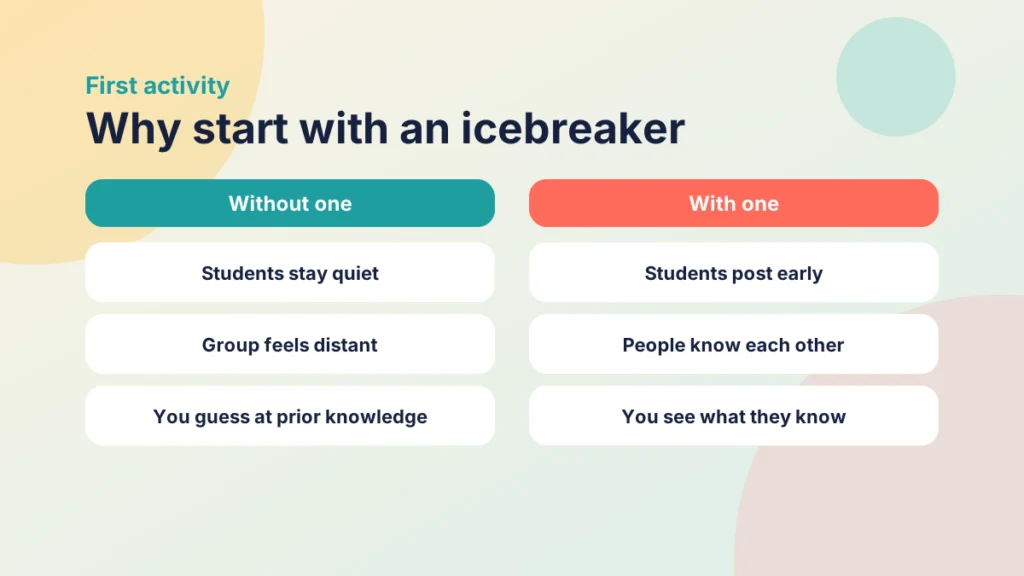
This links to the early stages of Gilly Salmon’s five stage model. In the first stage, students need to get access and feel motivated. In the second, they begin to socialise online. An opening activity serves both: it gets people into the space and gives them a first reason to post.
It also fits the first two steps of the Introduction to the PANDA Framework. Prepare is about setting expectations, and Activate is about getting students thinking about the topic. Preparing & Activating explains both in more detail. The best icebreakers do both jobs at once.
Think about the group you have. A cohort that already knows each other needs a different opening from one that has never met, and a short course needs a lighter one than a year-long programme. Match the weight of the activity to the length of the course, so it never feels longer than the thing it introduces.
I can only offer my own judgement on what follows, based on how these activities usually work in courses. I am not citing a study. Try the ideas, watch what happens, and adjust.
Five icebreakers to try
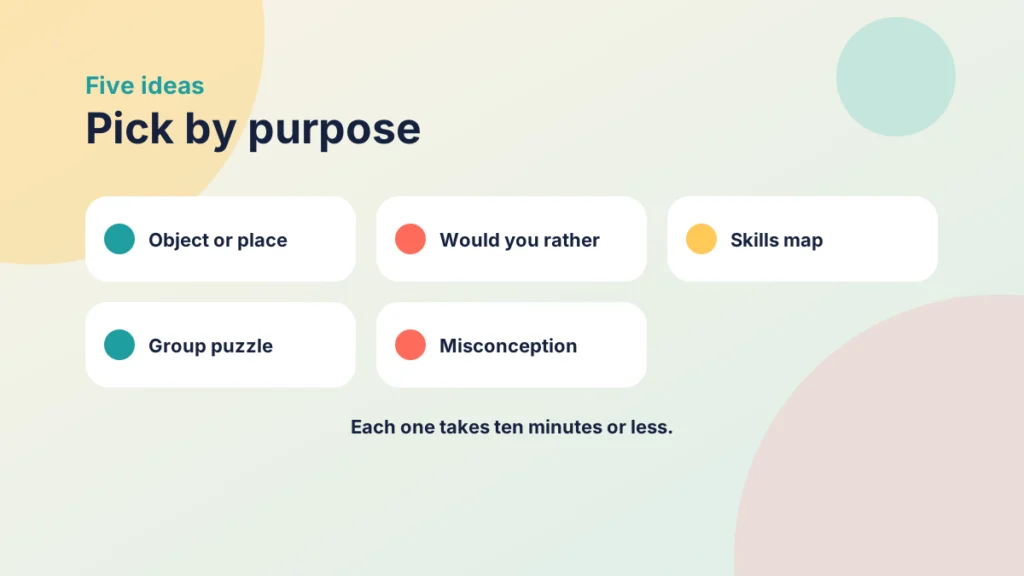
Each of these takes ten minutes or less, and each can run online or in a room. Choose by purpose, not novelty.
1. Object or place
Ask students to share a photo, or a sentence, about an object or place that shows how they like to study. Post your own first. Because the prompt is about a thing rather than a person, it feels safer to answer. It works well when students do not know each other and when you want to show that your course has room for personality.
2. Would you rather
Give a choice that connects to your subject, such as which of two study habits students would keep for a month, and ask for one line of reasoning. It takes a minute to answer and gives you a first look at how students think. It also tells them that opinions with reasons are welcome here.
3. Skills map
Ask: what is one thing I can already do, and one thing I want to learn? Students tell you what they bring and what they hope for, and you learn where to pitch the course. Look for patterns in the replies, and mention two or three in your next announcement so students see that you read them.
Put it into practice
Your turn
Choose one of the first three ideas and write the prompt you would post in your next course. Include a short example reply of your own, so students can see what a good answer looks like.
4. Two-part group puzzle
Give each member of a small group one clue, and ask the group to put the clues together to answer a question about your topic. No one can finish alone, so everyone has a reason to speak. Keep groups small, three or four people, and make the puzzle short enough to finish in the time you give.
5. Misconception starter
Show a common statement about your topic and ask whether it is true or false, and why. Do not grade it. The aim is to bring prior knowledge to the surface and to give you something to work with in week one. It starts retrieval early, which helps later learning.
Case study
A first week in a large module
Illustrative example
The context
A lecturer is teaching a first-year module with a large cohort that has never met. Some students are on campus and some will join online.
The challenge
In earlier years, the welcome discussion produced a few polite posts and then silence.
What they did
This year the lecturer posted a short example first, offered two prompts (an object and a skills map), and replied to the first few posts within a day. The lecturer then asked each student to answer one other person.
What happened
More students posted, and the replies referred to each other’s posts rather than only to the lecturer. The skills map replies shaped the first live session.
What would you do?
- What would you change if your group were smaller?
- Which prompt would suit your subject best?
Try it yourself
Pick an icebreaker for your group
Choose what you want your first activity to achieve, and see an idea, how long it takes and where to run it in Canvas.
Tips that make them work
Whichever idea you use, a few habits decide whether it helps or irritates.
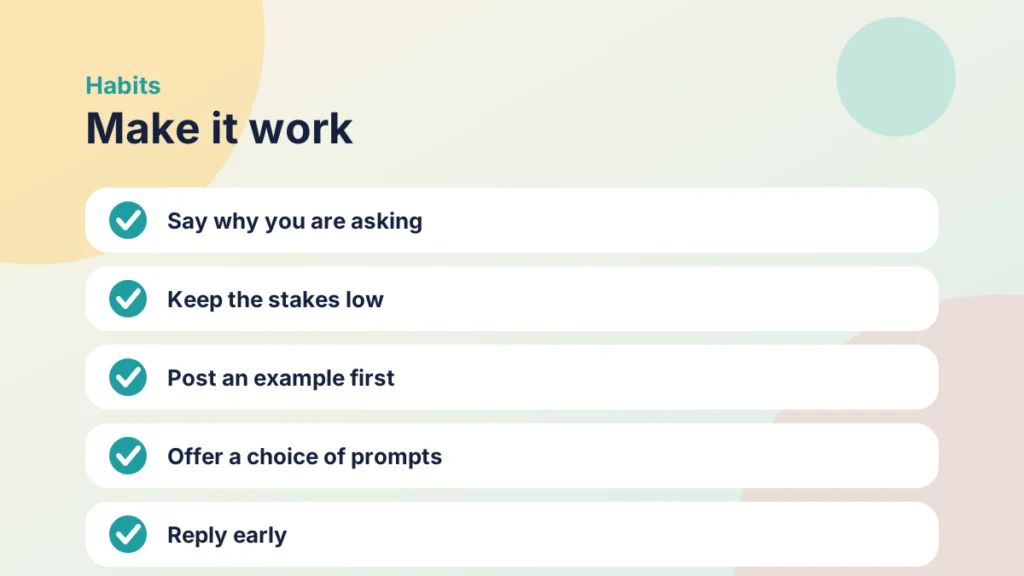
- Say why. A sentence on the purpose, such as getting to know each other so group work goes smoothly, builds trust.
- Keep the stakes low. Do not grade it. A tiny participation mark can still make it feel like a test.
- Model it first. Your own post shows the length and tone you want.
- Offer a choice. Some students do not want to share personal details, so give two or three prompts, including one about the subject.
- Time-box it. Say how long it should take, and keep to it.
- Reply early. Your replies in the first day set the habit for everyone.
Finally, close the loop. A day or two later, post a short note saying what you noticed, such as common interests or a topic many people want to learn. Students then see that the activity was read, and that is what makes them take the next one seriously.
Also think about access. Do not rely only on photos or audio, and give students another way to join in. A short written option usually works for everyone.
If you want more on the thinking behind these habits, Five Practical Tips for Using Gagné’s Nine Events of Instruction covers how to gain attention and state purpose at the start of a lesson.
Try it yourself
Which icebreaker fits?
Read each situation and choose the icebreaker that suits it best. Feedback explains why after each answer.
Run one in Canvas
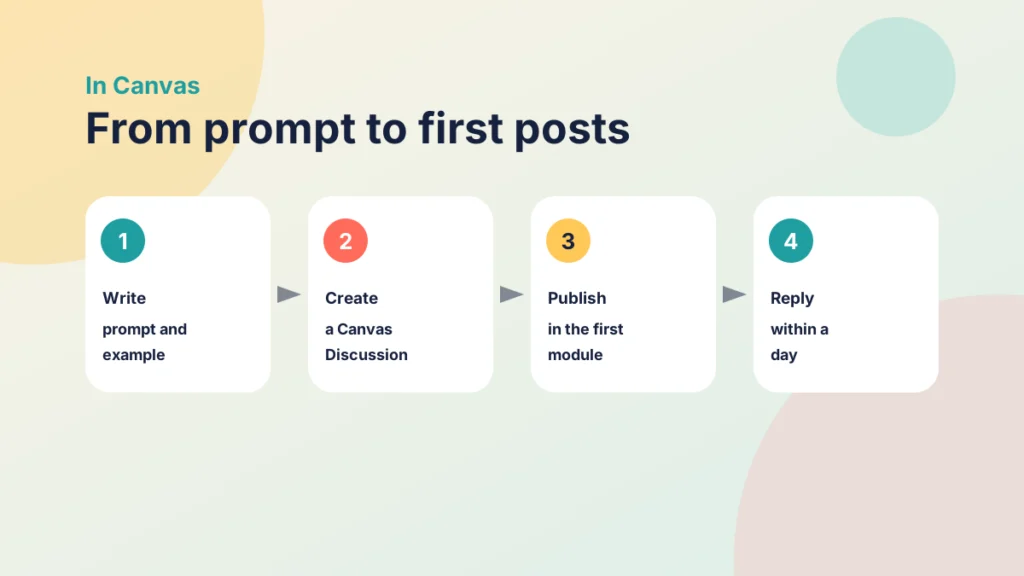
A Canvas Discussion is the simplest place to run most of these. Keep it near the top of the first module, so students meet it before the heavy content.
Put it into practice
Try it in Canvas
- Select Discussions in Course Navigation, then + Discussion.
- Add a title such as “Introduce yourself” and write the prompt with your own example at the top.
- Under the options, choose whether students must post before they see replies, if you want first responses to be independent.
- For the group puzzle, create groups under People and assign a group discussion.
- Select Save & Publish, then add the discussion to your first module.
Put it into practice
Your turn
Set up a Discussion in a test course or a sandbox. Write the prompt, add your example, and check how it looks in Student View before you publish it.
If the page around it is cluttered, Tips and Tricks for Better Canvas Wiki Page Design can help you make the welcome area clear and calm.
Check your understanding
Knowledge check
Why should you post your own example before students reply?
It shows the length and tone you want, and makes it easier to join in.
Which icebreaker helps you find out what students already know?
A skills map or a misconception starter, because both surface prior knowledge.
Why is it better not to grade an icebreaker?
Grading raises the stakes, and the aim is to help people start talking.
What can you do for students who prefer not to share personal details?
Offer two or three prompts, including one about the subject.
Remember
Key takeaways
- An icebreaker is a short, low-stakes task with a clear purpose.
- Choose by purpose: welcome, connection, prior knowledge, group work or retrieval.
- Post an example first, say why, and reply early.
- Offer choices so that everyone can take part.
- A Canvas Discussion near the top of the first module is the simplest place to run it.
Your next step
This week, choose one icebreaker and add it to the start of your next module as a Canvas Discussion. Write your own example, say why you are asking, and reply to the first five posts within a day. Afterwards, look at how many students replied to each other, not only to you.
Reflect: what do you most want to know about your students in the first week, and which prompt would tell you?