
A good rubric does three jobs at once. It tells students what a strong piece of work looks like before they start, it helps markers apply the same standard to every submission, and it gives you a quick way to return meaningful feedback. A poor rubric does the opposite: it hides the standard behind vague wording, adds marking time and leaves students guessing. Canvas gives you a flexible rubric tool, but the tool does not write a good rubric for you. These five tips focus on the design decisions that make the difference, and on the Canvas settings that support them.
First, what a Canvas rubric is made of
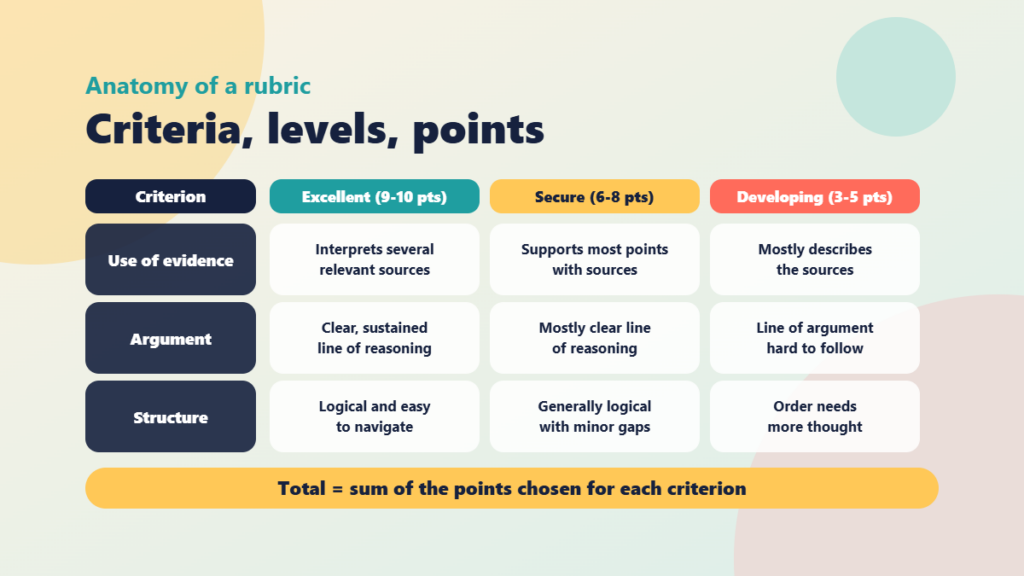
Before the tips, it helps to agree on the vocabulary. A Canvas rubric is a grid. Each row is a criterion, a single thing you are looking for. Each column is a rating, a level of performance with a point value and, optionally, a longer description. Canvas adds up the points to give a score, and you can attach the rubric to an assignment or a graded discussion so that markers and students see it in the same place.
Menu names and layouts change as Canvas is updated, so check your own institution’s version when you follow the steps below. The design principles stay the same whichever version you use.
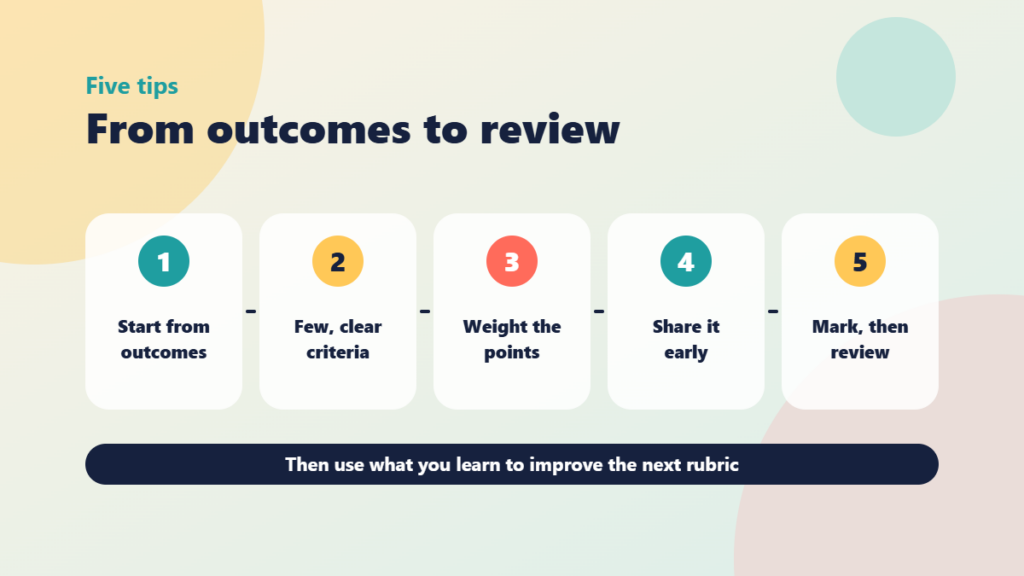
Tip 1: Start from the learning outcomes, not from the template
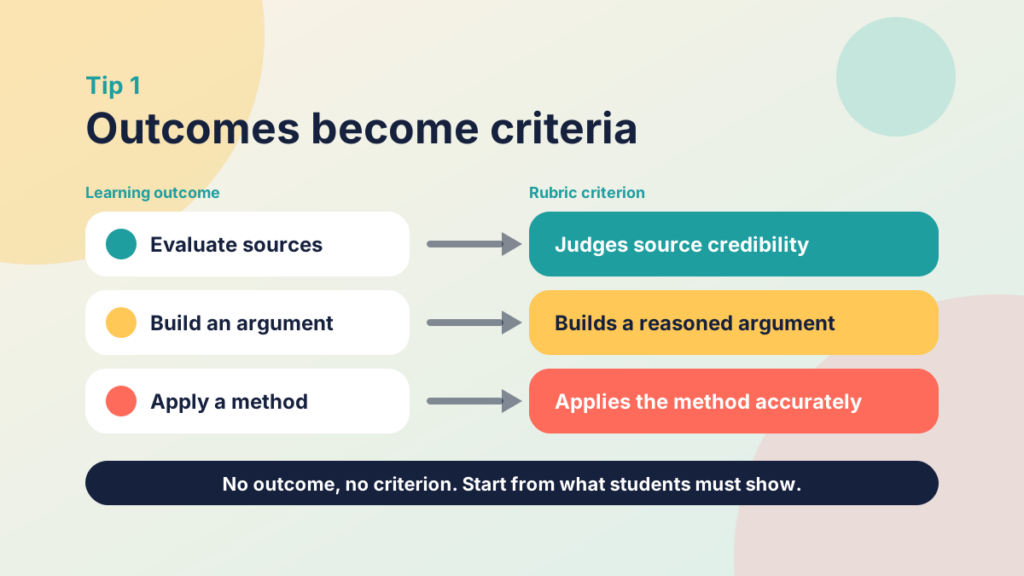
It is tempting to open the rubric tool and start typing criteria such as “Structure”, “Style” and “Referencing” because they feel familiar. A stronger approach starts one step earlier, with the outcomes that the assessment is meant to evidence. Ask yourself what a student must be able to do for you to say they have met each outcome, and let the answers become your criteria.
Make the link visible
- Write each criterion so that a student can see which outcome it serves. A criterion called “Critical evaluation of sources” is easier to connect to an outcome than one called “Content”.
- Where your institution uses Canvas Outcomes, you can link a criterion to an outcome so that results can be tracked across assignments. Check with your learning technology team before you do this, because outcomes are usually set up at account or course level and local practice varies.
- Keep an eye on balance. If an outcome matters a great deal but has no criterion, students will assume it does not count.
Separate quality of thinking from quality of presentation
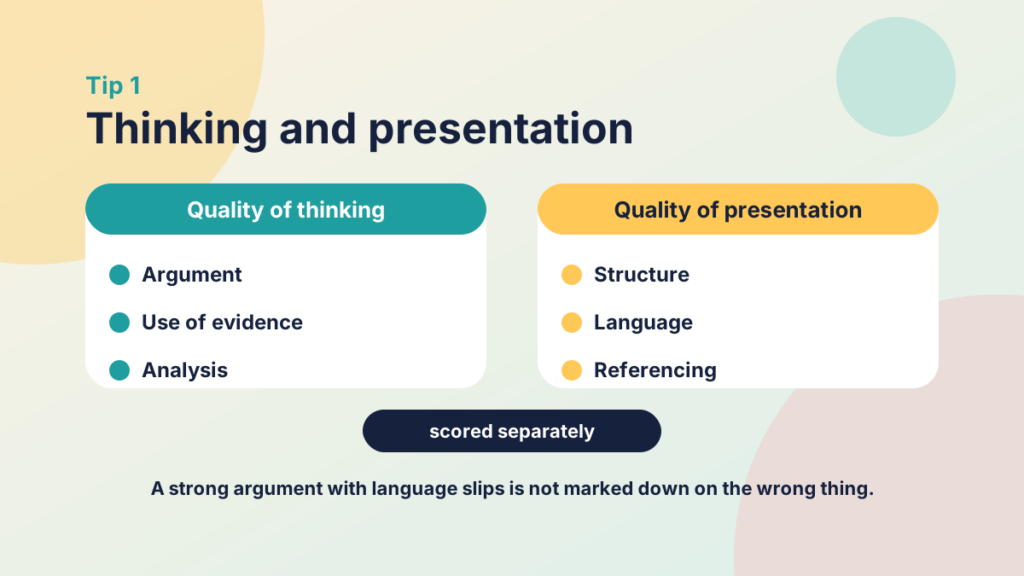
Many rubrics blend what students know with how neatly they write it. Where both matter, give them separate criteria, so that a well-argued piece with some language slips is not marked down on the wrong thing, and so that polished work with thin argument does not score highly by default.
Tip 2: Keep criteria few and write descriptors people can use
The most common weakness in rubrics is not too few criteria but too many, written in words that cannot be told apart. A rubric with a dozen rows and four levels has nearly fifty cells, and each one has to be read, understood and applied. Markers stop reading the detail, and students do not read it at all.
Aim for a manageable number of criteria
There is no magic number, but for most written or project assessments somewhere around four to six criteria is workable. If you find yourself with many more, look for criteria that overlap and merge them, or ask whether some of them belong in a separate assessment altogether.
Describe what you can observe
The differences between levels should be differences a marker can see in the work. Compare these two descriptors for a “Use of evidence” criterion:
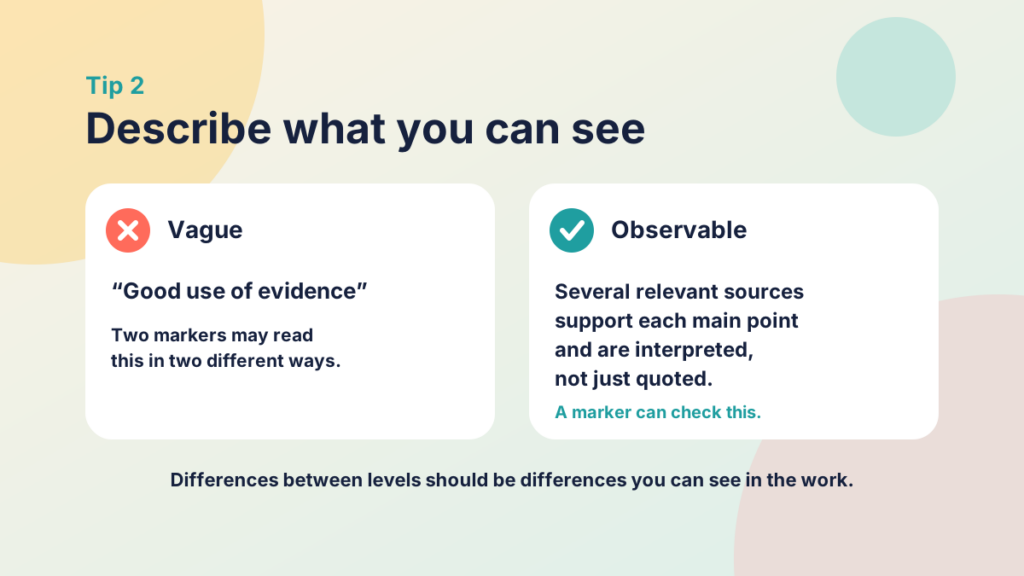
- Vague: “Good use of evidence” and “Some use of evidence”.
- Observable: “Evidence from several relevant sources supports each main point and is interpreted, not just quoted” and “Evidence supports most main points, but it is mostly described rather than interpreted”.
The second pair tells the student what to do to move up a level. It also gives two markers something concrete to agree on.
Use positive, progressive language
Describe each level by what the work shows, not only by what it lacks. A lowest level that only says “poor” or “missing” offers no help. Saying what the work does at that level and what the next step would be turns the rubric into feedback in advance.
Use the long description field
Canvas lets you add a short rating title and a longer description for each rating. Use the title for the level name and the long description for the observable detail. Students can then scan the titles and read the detail when they need it.
Tip 3: Make the points match your priorities
Points in a rubric are a statement of what matters. If every criterion carries the same weight, you are telling students that a small formatting point is as important as the central argument. Decide on your priorities first, then set the points to match.
Weight criteria deliberately
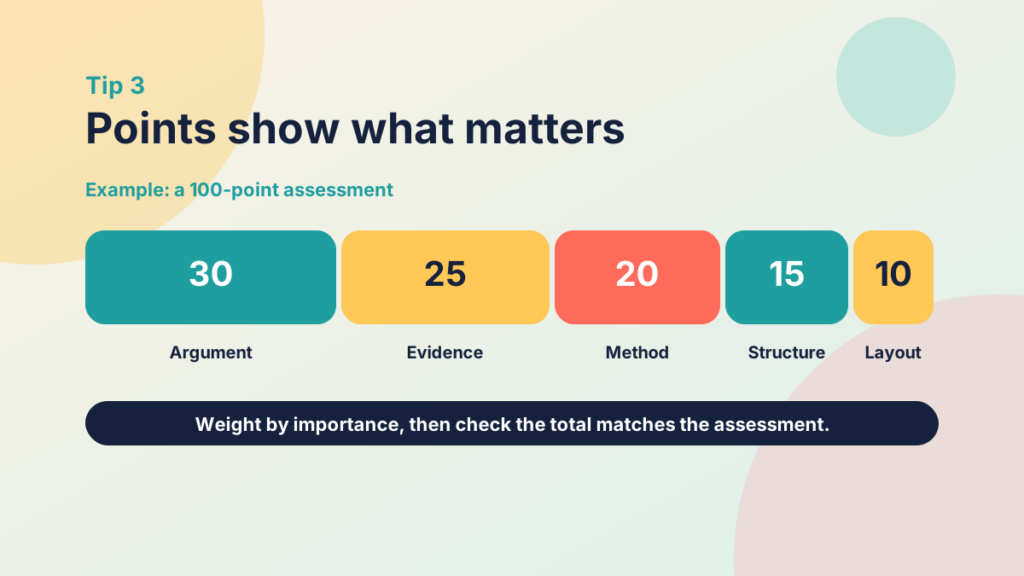
- Give more points to the criteria that carry the most important outcomes.
- Check the arithmetic against your marking scheme or institutional grade descriptors, and make sure the total matches the value of the assessment.
- Consider whether a criterion would be better as a gate than as a weighted score, for example where a basic requirement must be met for the work to pass.
Consider ranges rather than single values
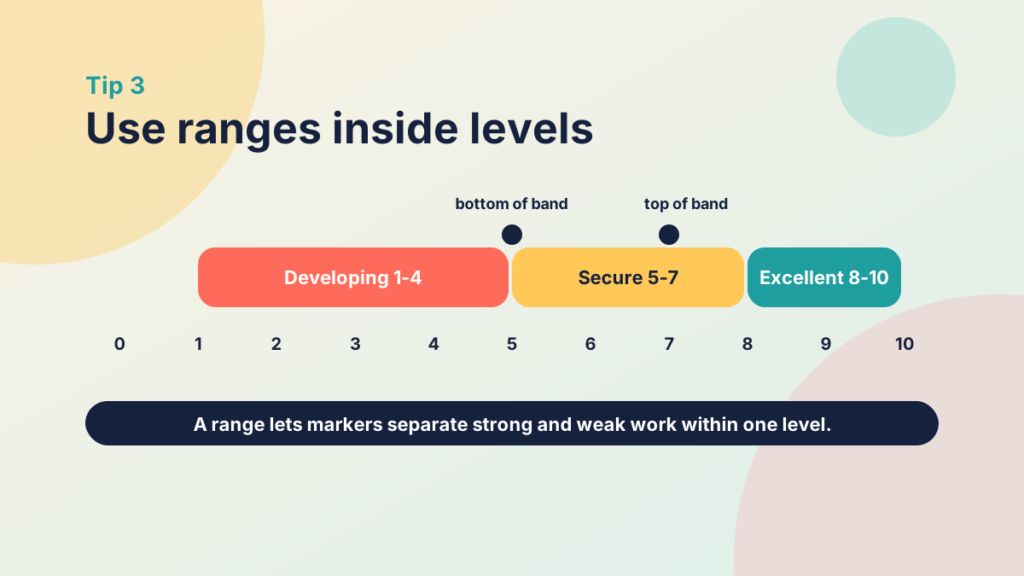
Canvas lets you set a range of points for each rating instead of a single fixed value. This gives markers room to separate a work that is at the top of a level from one that is at the bottom, without inventing extra levels. It also fits the way many academic grade bands work. If you use ranges, make sure the rating descriptions are clear about what sits at the top and the bottom of each band.
Think about whether every criterion should be scored
Sometimes you want feedback on an aspect of the work that does not count towards the mark, such as a development area for a first draft. Canvas has options that let a criterion be used for feedback without adding to the score, and options to control whether the rubric total is shown. Settings differ between versions, so test the behaviour in a practice assignment before you rely on it.
Check how the score reaches the gradebook
Canvas offers an option to use the rubric for assignment grading, in which case the rubric total becomes the score. If you want to mark separately and treat the rubric as guidance, leave that option off. Whichever you choose, make the choice deliberately, and tell students how the rubric relates to the final mark.
Tip 4: Share the rubric early and use it with students
A rubric that students first meet when they receive their grade is a marking tool. A rubric they use while they work is a learning tool. Canvas shows the rubric on the assignment page, so the technical step is easy. The educational step takes a little more thought.
Put it where students will find it
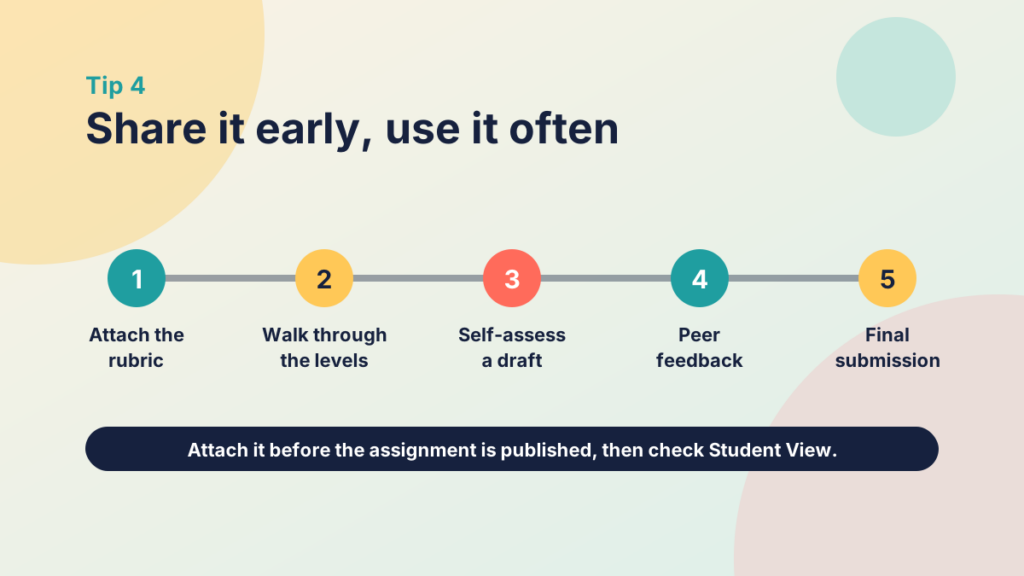
Attach the rubric to the assignment before the assignment is published, so it is there from the first day. Link to it from the module page or the weekly overview as well, and use Student View to check what students actually see.
Teach students how to read it
Spend a few minutes in a session, or record a short walkthrough, explaining how the rubric works and what the levels mean. Better still, ask students to apply the rubric to an example of past or anonymised work and compare their judgements. Students often discover for themselves what the descriptors mean when they have to use them.
Build in self-assessment and peer review
- Ask students to rate their own draft against the rubric and submit a brief note about where they think they sit and why.
- Where peer review is part of the task, Canvas can use a rubric for peer assessment, so students can give structured feedback using the same language you will use.
- Make sure that anything shared as an example is anonymised and has the author’s permission.
Connect it to your course structure
If you use a weekly pattern such as PANDA, the rubric belongs at two points. It is introduced in Prepare so that students know what success looks like, and it is applied in Demonstrate, when students show what they have learned. Articulate can then invite students to reflect on how they met the criteria, which builds the habit of self-evaluation.
Try it yourself
Fix this rubric
This rubric for a short report has six design problems. Tap any heading, cell or weighting to inspect it. Cells that hide a problem turn red and explain what is wrong.
Tip 5: Mark with the rubric, then review it
A rubric is not finished when you publish it. It is tested the first time you mark with it, and you should expect to improve it after the first round.
Use SpeedGrader efficiently
In SpeedGrader the rubric appears beside the submission, and you can select a rating for each criterion, adjust points where ranges are allowed and add a comment against any row. A few habits help:
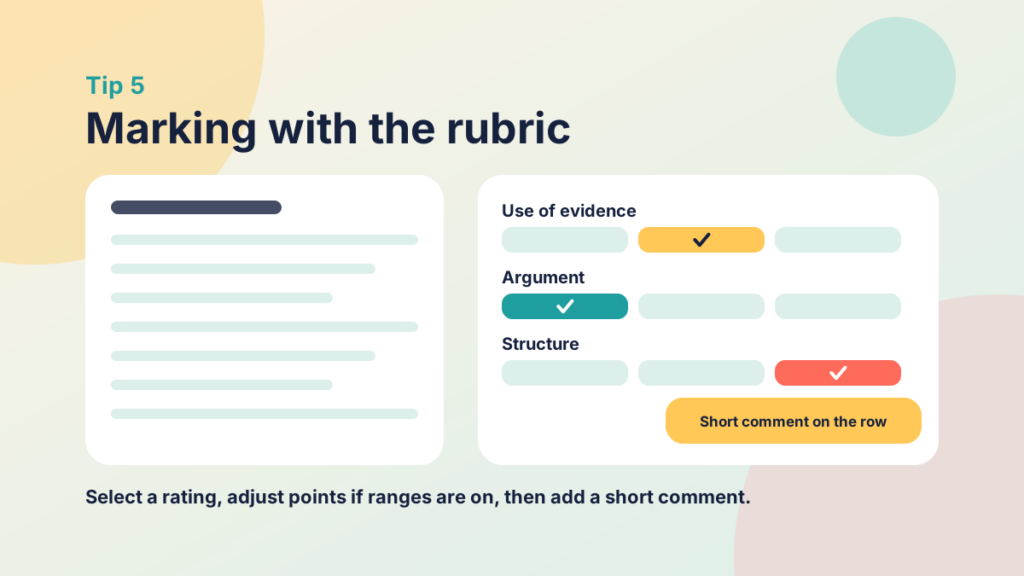
- Add a short comment on criteria where the level alone does not explain the mark. Students value a sentence that links their work to the descriptor.
- Use the overall comment box for the most important next step, rather than repeating everything in the rubric.
- If you reuse comments often, build a bank of your own phrases and paste them in, keeping the wording tied to the descriptors.
Calibrate when more than one person is marking
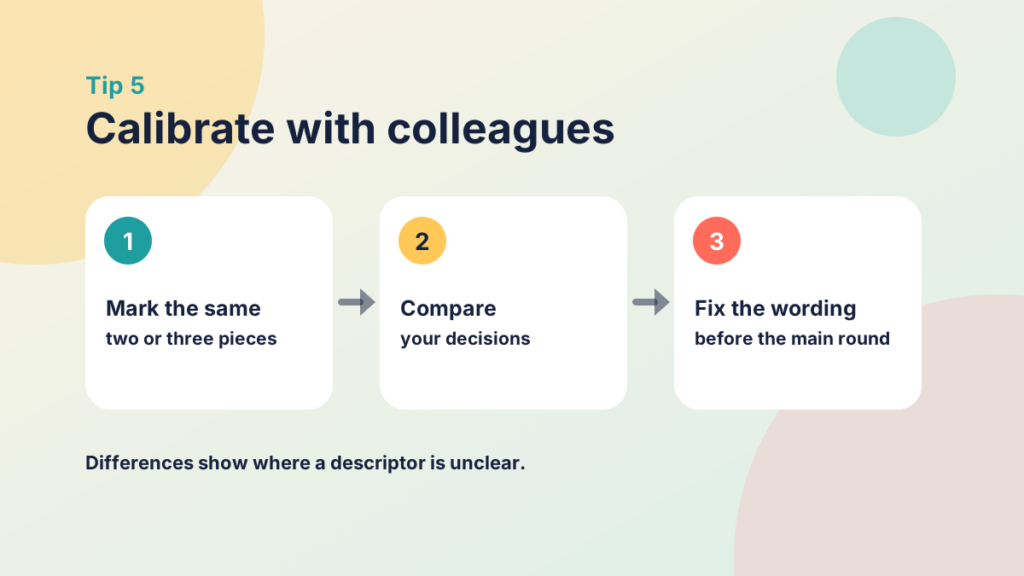
Where a teaching team shares the marking, have everyone mark the same two or three pieces of work with the rubric and compare their decisions. Differences show you where the descriptors are unclear or open to different readings. Fix the wording before the main round of marking, not afterwards.
Look for patterns after the first round
- Did one criterion produce the same rating for almost every student? It may not be discriminating between levels, or the teaching may need adjusting.
- Did markers frequently add the same clarification? Put it into the descriptor.
- Did students ask questions about a particular row? That is a sign the wording is unclear.
Reuse and adapt
Canvas lets you find and reuse rubrics from other courses you have access to, and your team may have shared versions available. Copy a rubric that works, then adapt the criteria and wording for the new assessment instead of starting again. Keep a short note of what you changed and why, so that your improvements build up over time.
Try it yourself
Mark with a rubric in SpeedGrader style
Read the short sample extract, choose a rating for each criterion, fine-tune the points inside the range, and add a short comment. The student view updates as you go. This is a practice model, not Canvas itself.
Sample extract (invented for practice)
Remote learning increased access for some students. One source says recorded lectures were used more than live sessions, and another says students liked the flexibility. However, the essay does not discuss students without reliable internet access. In conclusion, remote learning is a good thing.
Rubric
What the student sees
Common mistakes to avoid
- Copying a generic rubric without checking it fits. A template from another discipline or level may measure the wrong things.
- Using words that only experts understand. If a first-year student would not know what a descriptor means, rewrite it.
- Making every level an adjective. “Excellent”, “good” and “fair” tell no one anything unless the descriptor explains the difference.
- Adding criteria after marking has begun. Changing the standard part-way through is unfair to students who have already been marked.
- Treating the rubric as the whole of the feedback. The grid tells students where they are. Your comments tell them what to do next.
A quick checklist before you publish
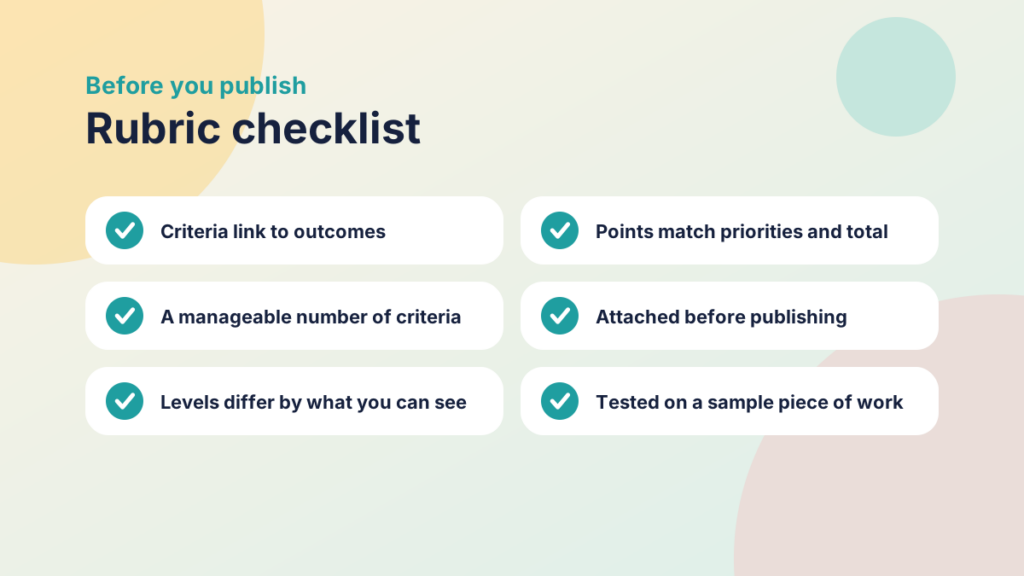
- Does each criterion connect to a stated learning outcome?
- Is the number of criteria manageable for you and for students?
- Can a marker tell the levels apart by looking at the work?
- Do the points reflect what matters most, and do they add up to the right total?
- Is the rubric attached before the assignment is published, and have you checked Student View?
- Have you tested it on at least one sample piece of work?
Getting started
You do not have to rebuild every rubric at once. Pick one assessment, apply the five tips in order and see what you learn. Once you have one rubric that students understand and markers can apply consistently, it becomes a model you can adapt across your programme, and the time you invest at the design stage comes back at marking time and in the quality of the work students submit.
Try it yourself
Is your rubric ready to publish?
Tick each check that is true for your rubric. The list of what is left builds as you go, and you can copy it as a to-do list.