
Video is often the first thing we reach for when building an online course. A recorded lecture is quick to produce and feels like a natural substitute for the classroom. But video that is simply added to a course is rarely video that is used well. The most effective approach is to give every video a clear purpose that matches the stage of learning it supports.
This post walks through how to use video at each step of an online course, with practical advice for teachers, lecturers and learning designers in schools, colleges and universities.
Start with the Purpose, Not the Format
Before you press record, ask what you want the learner to do after watching. Understand a concept? Complete a task? Feel welcome? The answer shapes the length, style and placement of the video. If you cannot name the purpose in one sentence, the video probably is not ready to make.
This also helps with consistency. If you structure your weekly content using a framework such as PANDA (Prepare, Activate, Navigate, Demonstrate, Articulate), you can decide which stages benefit from video and which are better served by text, discussion or practical activity.
Using Video to Prepare Learners
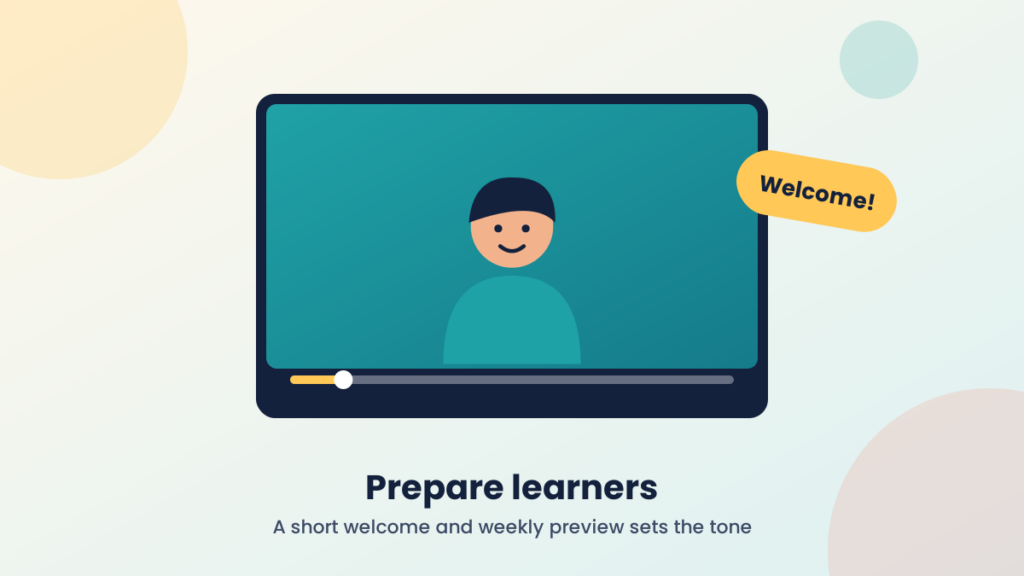
Welcome and orientation
A short, friendly welcome video can do a great deal to set the tone of a course. Learners see who they are working with, hear how you speak and get a sense of what is expected. Keep it brief, cover the essentials and avoid reading out the syllabus word for word.
Weekly previews
A short preview at the start of each week or module helps learners see where they are heading. Explain what is coming, what they need to do and how it connects to previous work. Because the structure repeats, learners quickly know what to expect and where to look.
Using Video to Teach Content
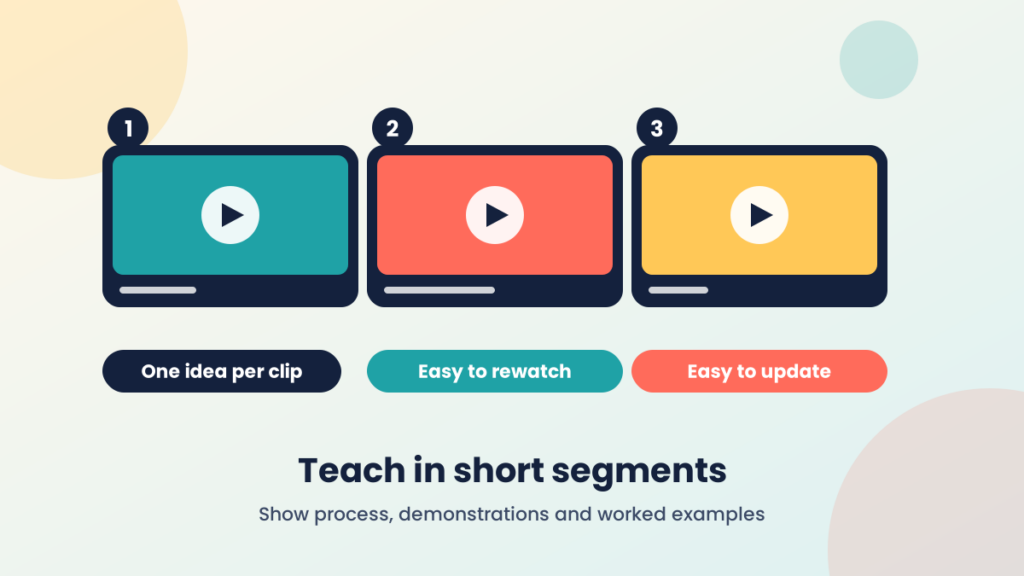
Keep it short and focused
Long recorded lectures are difficult to watch on a screen without interruption. Break content into shorter segments, each covering one idea. This makes videos easier to rewatch, easier to update and easier to locate when a learner needs to revisit a single point.
Show what text cannot
Video is at its strongest when it shows process: a worked example, a demonstration, a screen walkthrough or a practical technique. If the content is a straightforward explanation that reads perfectly well as text, consider whether a written page would serve learners better.
Reduce clutter
Avoid overloading slides or the screen with text while you are speaking. Learners cannot read and listen to different content at the same time very effectively, so let your visuals support what you say rather than repeat it.
Using Video to Activate Learning
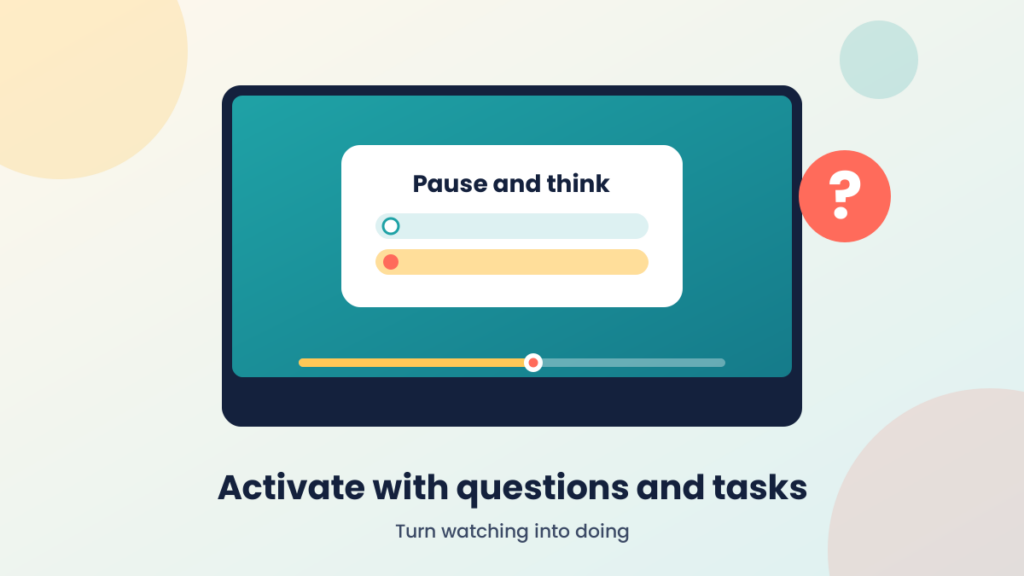
Watching is passive unless you give learners something to do. Build activity around the video so it becomes a starting point rather than an endpoint.
- Embed questions. Use interactive video tools to pause the video and ask a quick question.
- Set a task. Ask learners to watch with a purpose, such as noting two things that surprised them or spotting an error in a worked example.
- Follow with discussion. Prompt learners to respond to the video in a forum, drawing on their own experience or context.
- Use video as a stimulus. Short clips, case studies or scenarios can launch a problem-solving activity.
Using Video to Support Navigation and Feedback
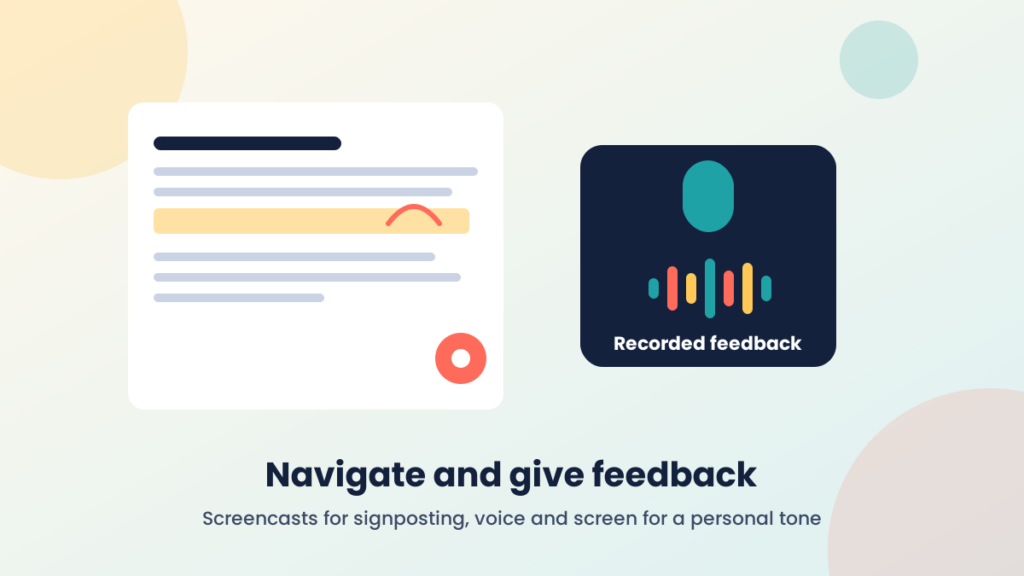
Signposting
Short screencasts showing learners how to find resources, submit work or use a tool can save a surprising amount of time and email traffic. They are also reusable year after year if you avoid referring to specific dates.
Personal feedback
Recorded feedback allows you to explain your reasoning in a more personal tone than written comments often convey. A screen recording of you talking through a piece of work can be especially useful for showing exactly where something works well or needs development. Check your institution’s guidance on privacy and storage before sharing recordings that include student work.
Using Video for Assessment and Reflection
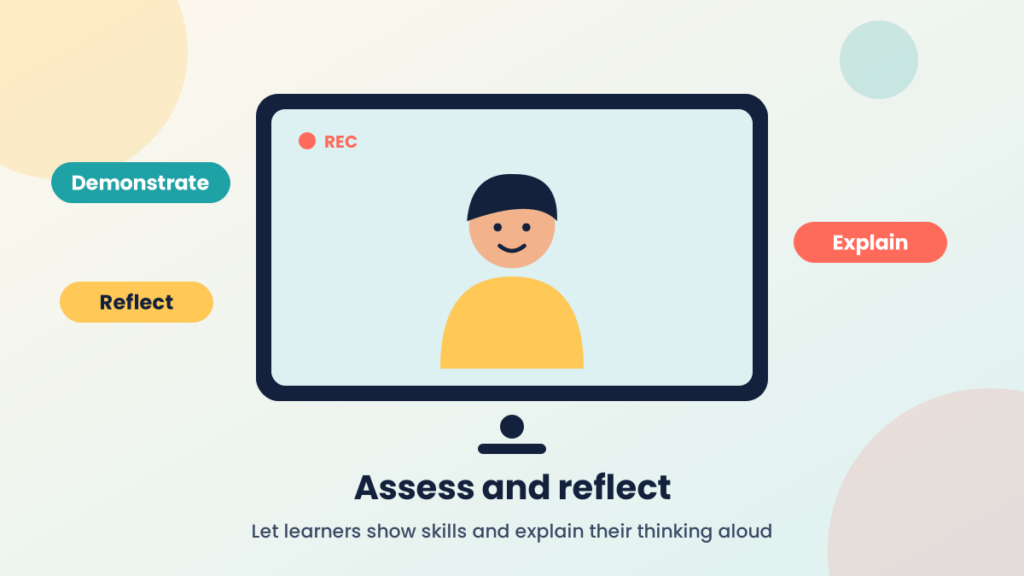
Video is not only for teachers. Asking learners to produce their own recordings can assess skills that written work cannot easily capture, such as presenting, demonstrating a technique or explaining their thinking aloud.
- Presentations and demonstrations allow learners to show practical competence.
- Short reflective videos encourage learners to articulate what they have learned in their own voice.
- Peer review of recorded work can develop critical thinking and communication skills.
If you set video assignments, be clear about the assessment criteria, technical expectations and alternatives for learners who face barriers to recording. Judge the learning, not the production quality.
Make Your Video Accessible and Sustainable
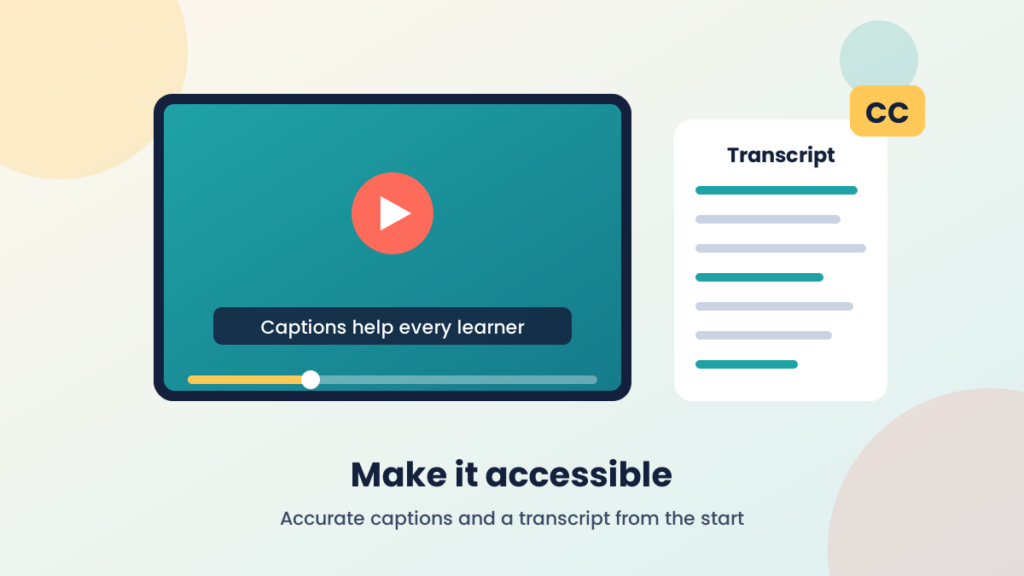
Accessibility should be part of the plan from the start, not an afterthought. Provide accurate captions and, where possible, a transcript. Speak clearly, describe important visual content aloud and avoid relying on colour alone to convey meaning. Captions and transcripts benefit many learners, including those studying in noisy environments or in a second language.
Think about sustainability too. Videos that are short, modular and free of date-specific references are far easier to update than a single long recording. A simple script or outline also makes re-recording a section painless.
A Simple Checklist Before You Publish
- Does the video have a single, clear purpose?
- Is it as short as it can be while still doing its job?
- Are there captions or a transcript?
- Is there a task, question or activity attached to it?
- Is it placed at the right point in the course?
Final Thoughts
Video is a powerful tool when it is chosen deliberately. Use it to welcome, to show, to activate, to give feedback and to let learners demonstrate their own understanding. Start small, pick one stage of your course where video could make a real difference, and build from there.