Generative fill in Photoshop isn’t just another tool—it’s a creative powerhouse! Imagine effortlessly conjuring captivating patterns, textures, and designs with a few clicks. It’s a game-changer for artists, designers, and creators, offering a seamless way to craft intricate visuals without spending hours painstakingly drawing or painting. With its array of pattern options, content-aware capabilities, and customisation features, generative fill unleashes a torrent of creative possibilities, empowering you to turn visions into stunning realities in no time.
So what is it?
Generative fill in Photoshop is a feature that allows you to quickly create and apply fills based on various patterns, shapes, or content. It’s a powerful tool for generating intricate designs, textures, and effects without the need for manual drawing or painting.
One of the key functionalities within generative fill is the ability to use different types of patterns, such as dots, lines, shapes, and even custom patterns, to fill selected areas or layers in your project. Photoshop provides various options to adjust the scale, rotation, and randomness of these patterns, giving you control over the final look of the fill.
Moreover, generative fill can utilise content-aware technology to generate fills based on the existing content within a selection. This feature is particularly useful for seamlessly filling in gaps or extending the content of an image by analysing its surrounding elements.
By combining different fill options and adjusting parameters, you can create unique and complex designs, textures, or backgrounds effortlessly, enhancing your creative workflow in Photoshop.
How do you use generative fill in photoshop?
To use generative fill in Photoshop, follow these general steps:
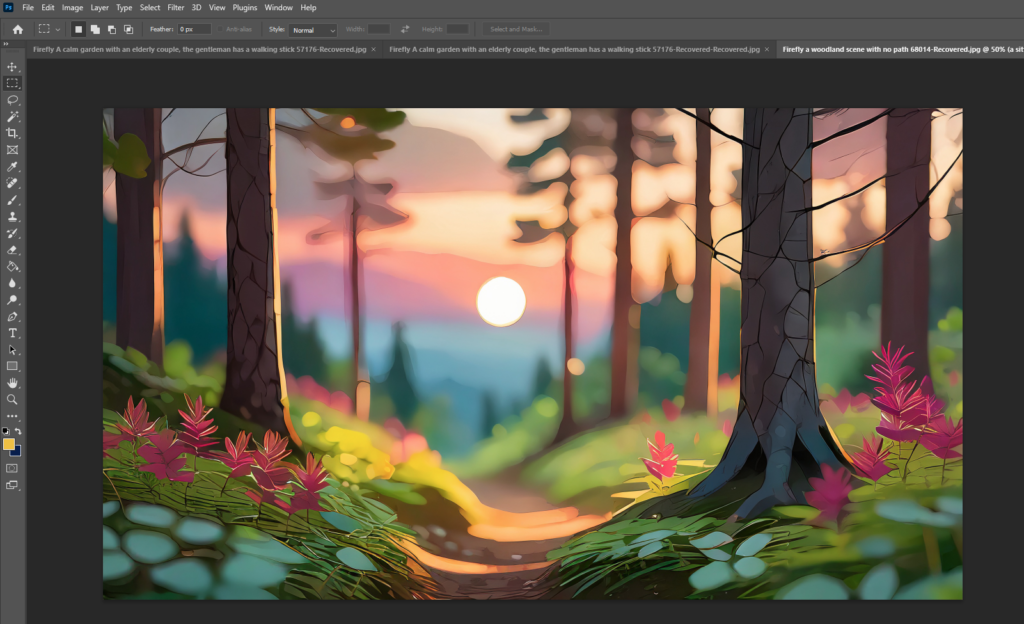
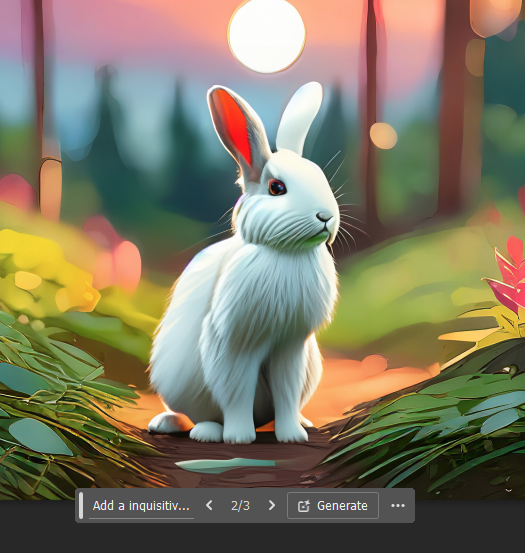
Select an Area: Choose the area or layer where you want to apply the fill. This could be a shape, a selection, or an entire layer. in my case I simply used the rectangular marque tool:
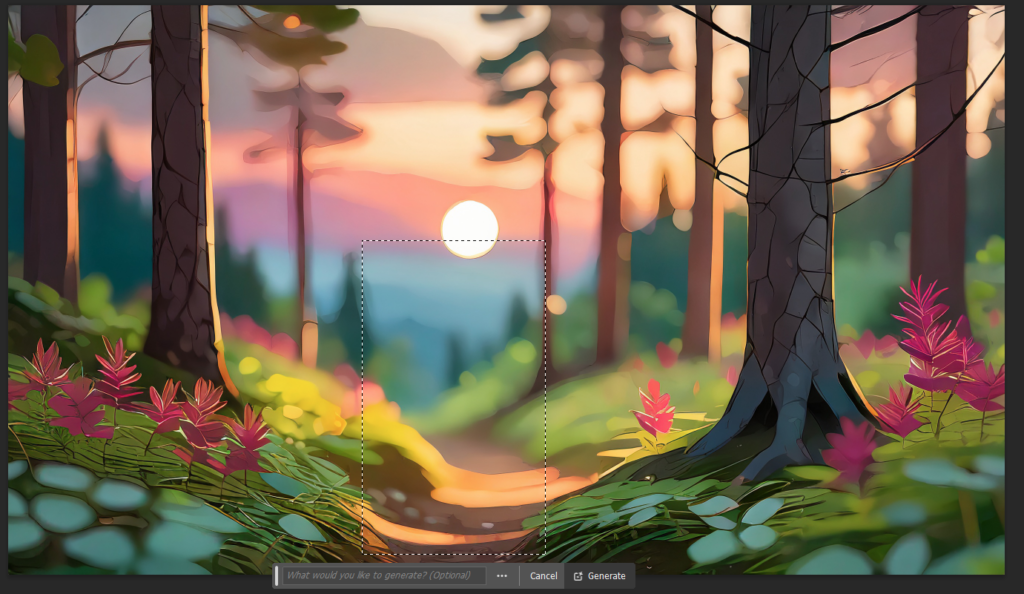
Add a prompt: If you look above you will see a floating menu like the one below to add a prompt for what you want to add to area you have drawn.
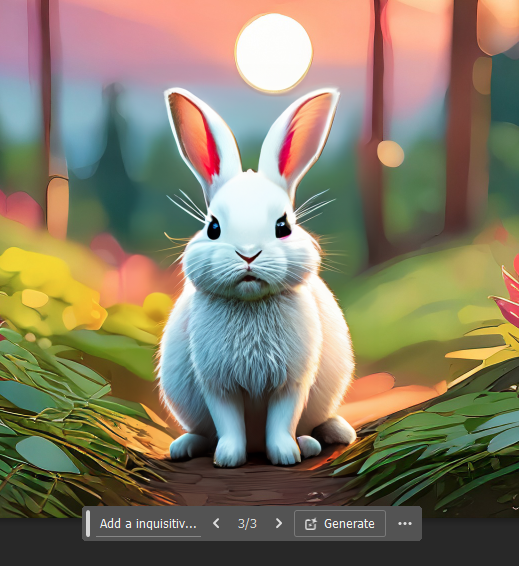
I added “Add a inquisitive standing white rabbit facing forward” and clicked generate. After a few moments my a little rabbit appeared in the area! That’s magic, I’m sure of it.
What if you don't like it?
Well there’s some clever people behind the magic who have thought of this. When it generates a fill, it also generates a couple more that can be found in the properties panel. The fill generated me these two rabbits, of which I preferred the one looking slightly right, rather than the angry little rabbit.
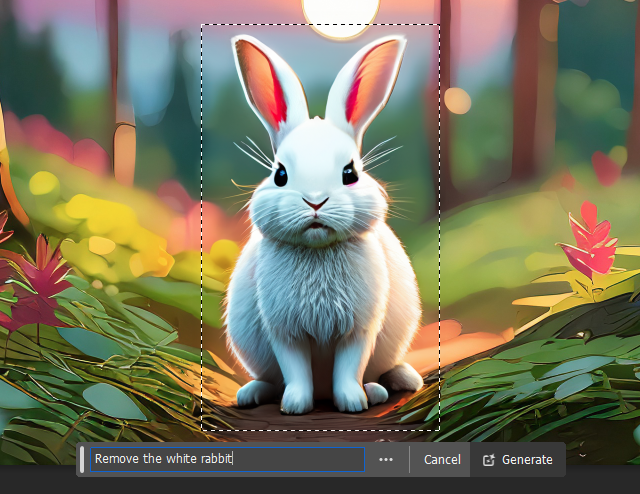
What if I have something I want to remove?
This took a little working out. You would think isolate the subject and add in a prompt along the lines of “remove the white rabbit”.
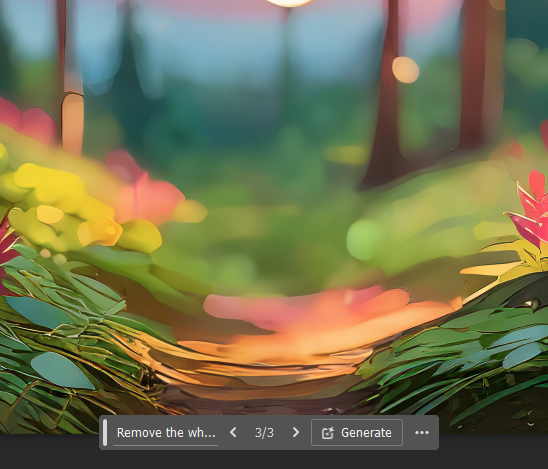
Annoyingly it worked this time! Sometimes if you dont include enough of the background around the subject, it will come up with a strange fill, so don’t use a selection that is tight to the object you want to remove. If you also get funny results by the fill changing the subject completely, lasso your subject with enough background and simply hit generate without a prompt. This effectively tells the fill tool to just remove the subject.
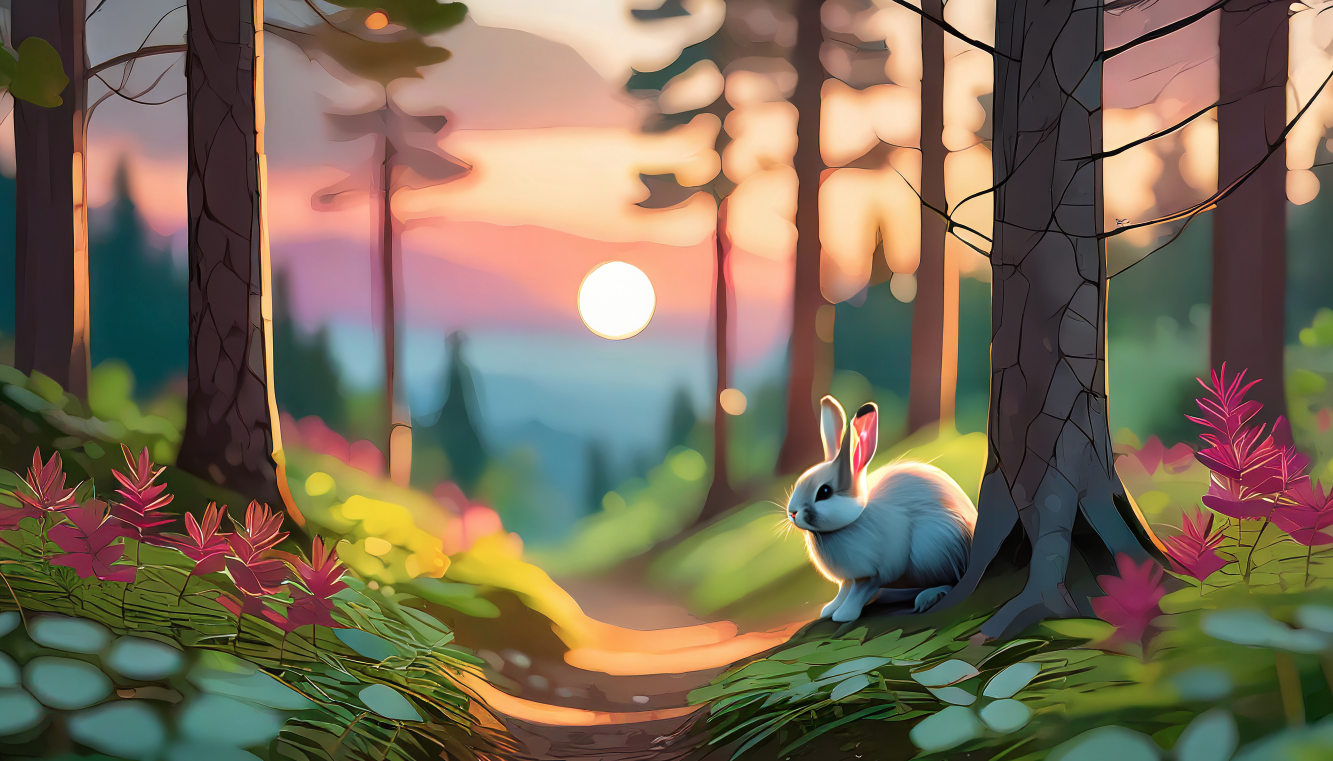
Finished article, or two!
Generative fill is a great weapon in your creative tool kit and worth exploring. Give it a go, the results might surprise you. By the way, the additions are non-destructive so you can pick different generated fills from the property panels to find a one that suits your need.
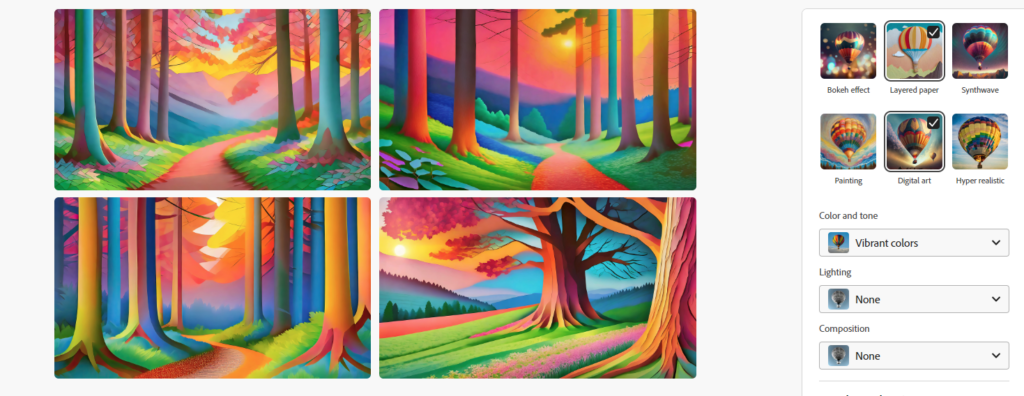
Background artwork?
Like the background artwork? That will be subject to the next blog post for Adobe Firefly, a AI image generation tool. For the image above, I worked a few ideas through the Firefly’s prompts then downloaded to photoshop where I then used the generative fill to further work on an image. Two very good products, both in their infancy.